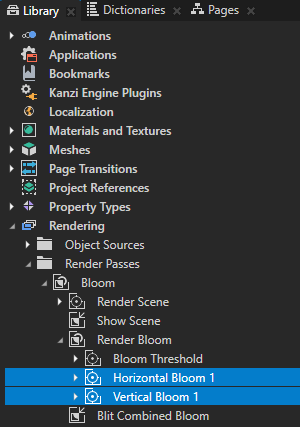
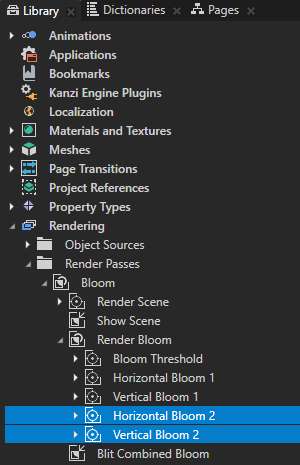
- In the Library hold down the Ctrl key, select the Horizontal Bloom 1 and Vertical Bloom 1 render passes, duplicate them, and rename the new render passes to Horizontal Bloom 2 and Vertical Bloom 2.
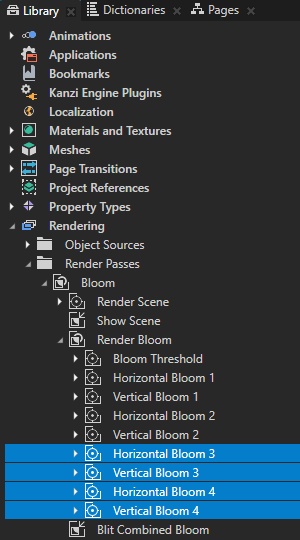
- Repeat the previous step twice but rename the render passes to:
- Horizontal Bloom 3 and Vertical Bloom 3
- Horizontal Bloom 4 and Vertical Bloom 4
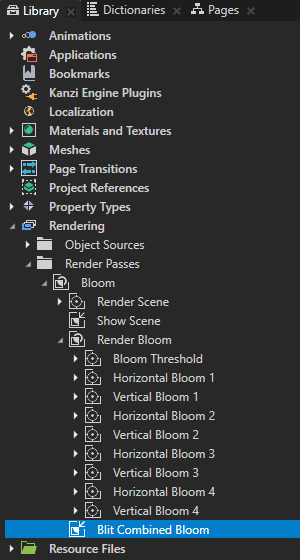
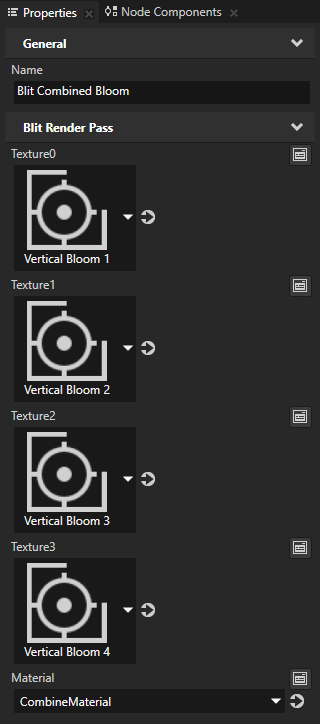
- In the Library select the Blit Combined Bloom render pass and in the Properties add and set:
- Texture1 to Vertical Bloom 2
- Texture2 to Vertical Bloom 3
- Texture3 to Vertical Bloom 4
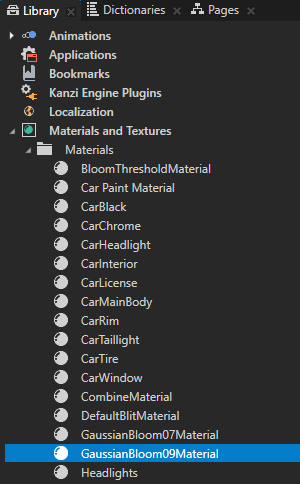
The GaussianBloom09Material material provides a directional Gaussian blur effect using a kernel size of 9 pixels. To optimize performance you use smaller kernel sizes when possible.
- For each Composition Target Render Pass you created earlier in this procedure set the Resolution Divisor property to the value listed in this table:
This way you reduce the resolution of the composition target at every pass of the bloom effect, making the effect spread to a wider area.Composition Target Render Pass Resolution Divisor Horizontal Bloom 2 4 Vertical Bloom 2 4 Horizontal Bloom 3 8 Vertical Bloom 3 8 Horizontal Bloom 4 16 Vertical Bloom 4 16 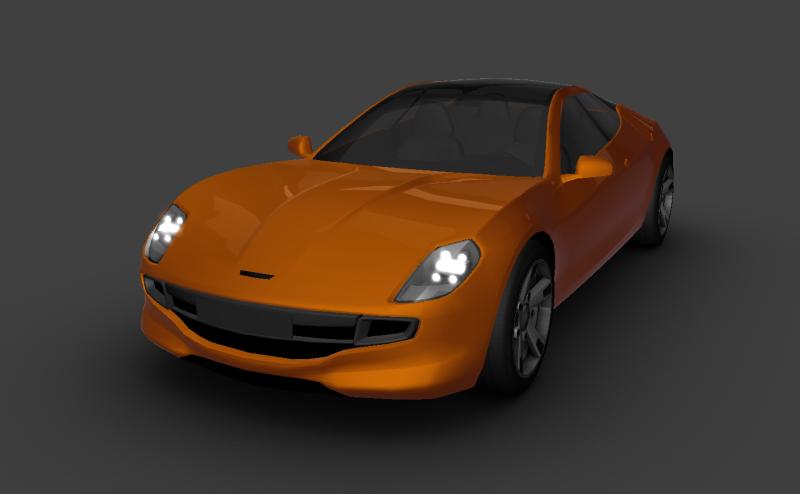
- For each Blit Render Pass you created earlier in this procedure set the properties to the values listed in this table:
Blit Render Pass Texture0 Material Blur Direction X Blur Direction Y Blur Radius Intensity Horizontal Bloom 2
> Blit Horizontal BloomVertical Bloom 1 GaussianBloom09Material 1 0 3,33 1,5 Vertical Bloom 2
> Blit Vertical BloomHorizontal Bloom 2 GaussianBloom09Material 0 0,5 3,33 1,5 Horizontal Bloom 3
> Blit Horizontal BloomVertical Bloom 2 GaussianBloom09Material 1 0 5 1,33 Vertical Bloom 3
> Blit Vertical BloomHorizontal Bloom 3 GaussianBloom09Material 0 0,5 5 1,33 Horizontal Bloom 4
> Blit Horizontal BloomVertical Bloom 3 GaussianBloom09Material 1 0 10 3 Vertical Bloom 4
> Blit Vertical BloomHorizontal Bloom 4 GaussianBloom09Material 0 0,5 10 3 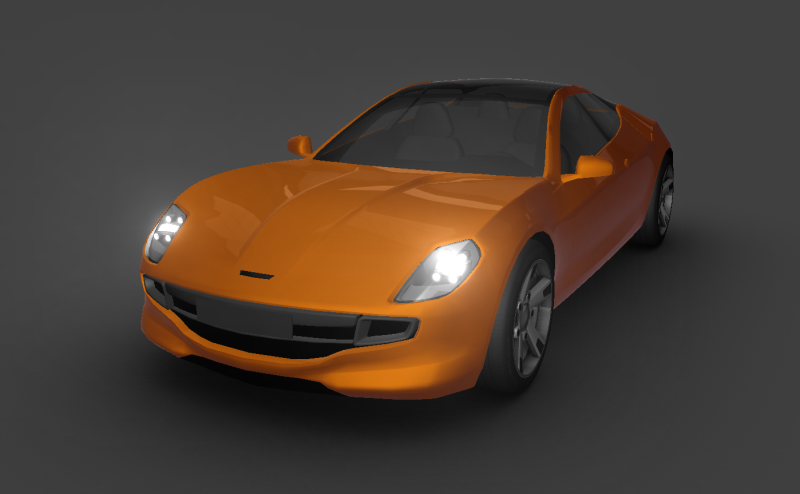
- In the Library select the Blit Combined Bloom render pass, and in the Properties add and set:
- Pass 1 Multiplier to 1
- Pass 2 Multiplier to 1,5
- Pass 3 Multiplier to 1,9
- Pass 4 Multiplier to 1,7
You can experiment with different multiplier values to see how each pass of the bloom effect affects the final outcome. 
